
Heating · Review
SpeedComfort Control Sensor review: The room warms up faster, but not every home is suitable
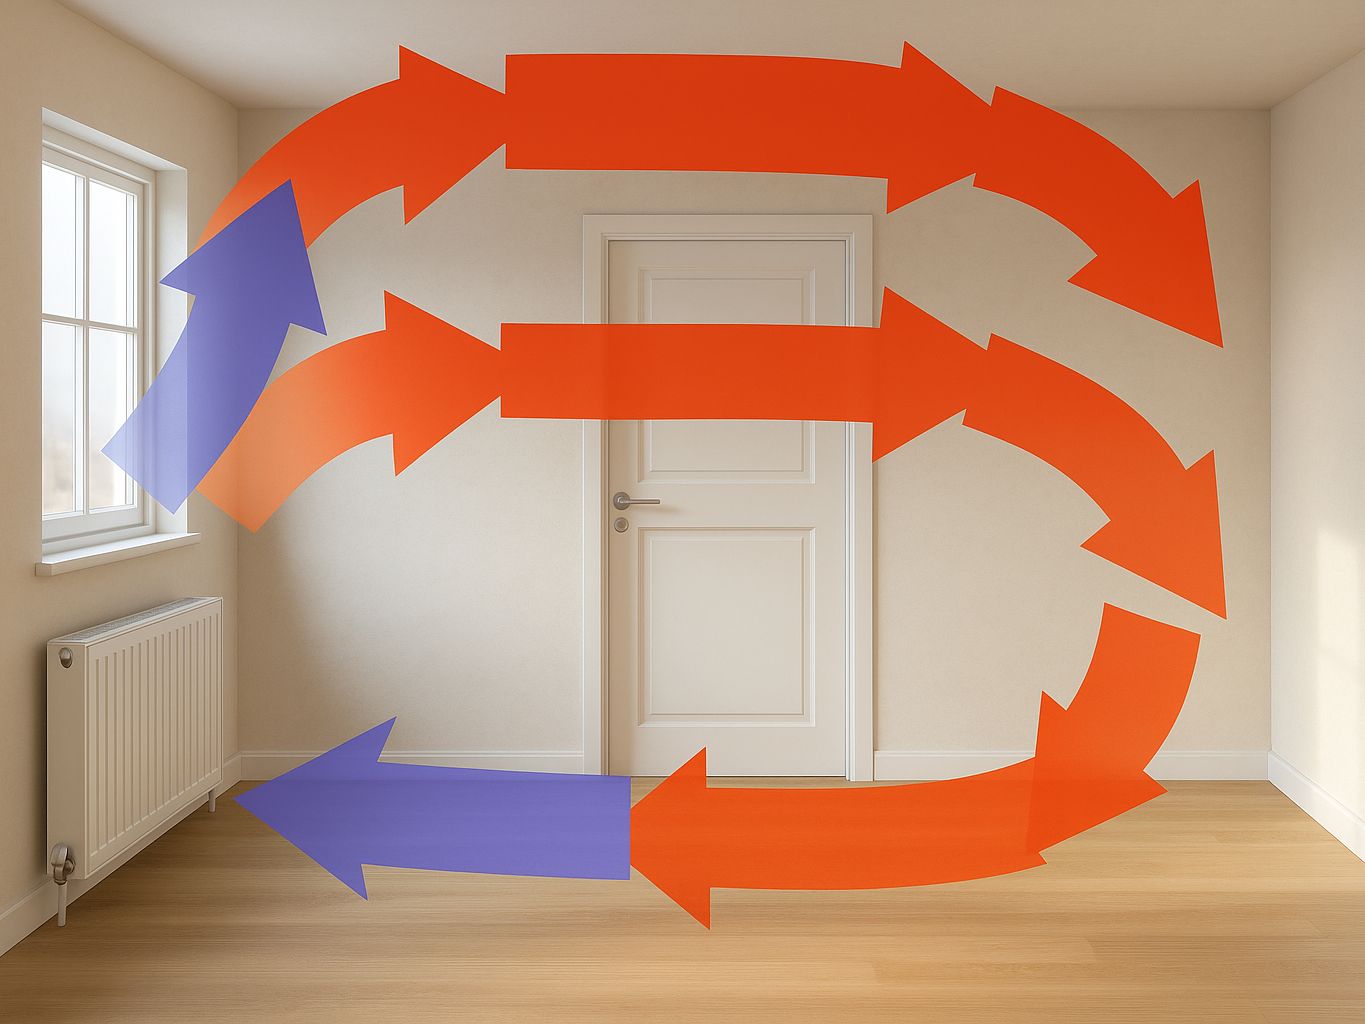
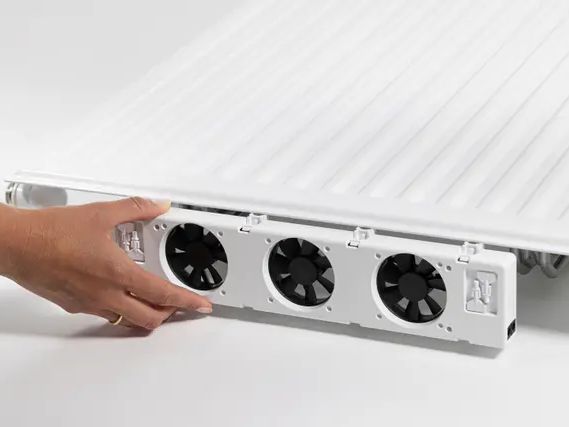
In front of a radiator you feel the heat right at its surface. It reaches the rest of the room more slowly: the warmed air rises to the ceiling, and the floor stays cool for longer. This is where the SpeedComfort set comes in. Two fan bars under the radiator blow the heat into the room, and a control sensor switches them on and off by itself depending on the radiator temperature. I tried the set in a 20 square metre room.
In the test room it warmed up noticeably faster with the fans, the bars ran quietly and setting up took only a few minutes. Power consumption hardly mattered. Drawbacks are the high price and the exclusion for heat cost allocators. The set makes sense in a detached house or with a gas apartment heating system with its own meter.
When you should not buy the set
One restriction up front, because it decides the purchase. If your radiators carry heat cost allocators (HKV) for a central billing system, leave the fan alone. The airflow influences what the allocator measures. It can count considerably fewer units than the radiator actually gives off. The other parties in the building then pay the difference.
Operation is unproblematic in your own detached house and with a gas apartment heating system that has its own meter.
How the set works
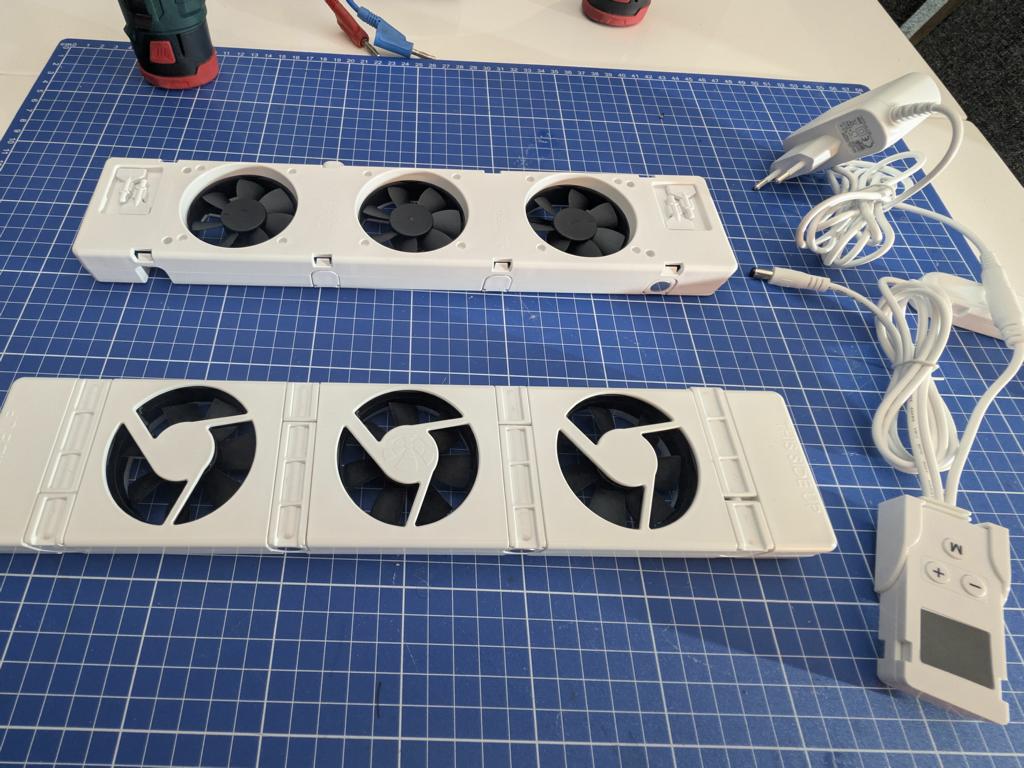
SpeedComfort is based in Rotterdam and has existed since 2015. It develops accessories that help existing heating systems work better. Its best-known product is the fan bars. Two of them, with three fans each, were used in the test.
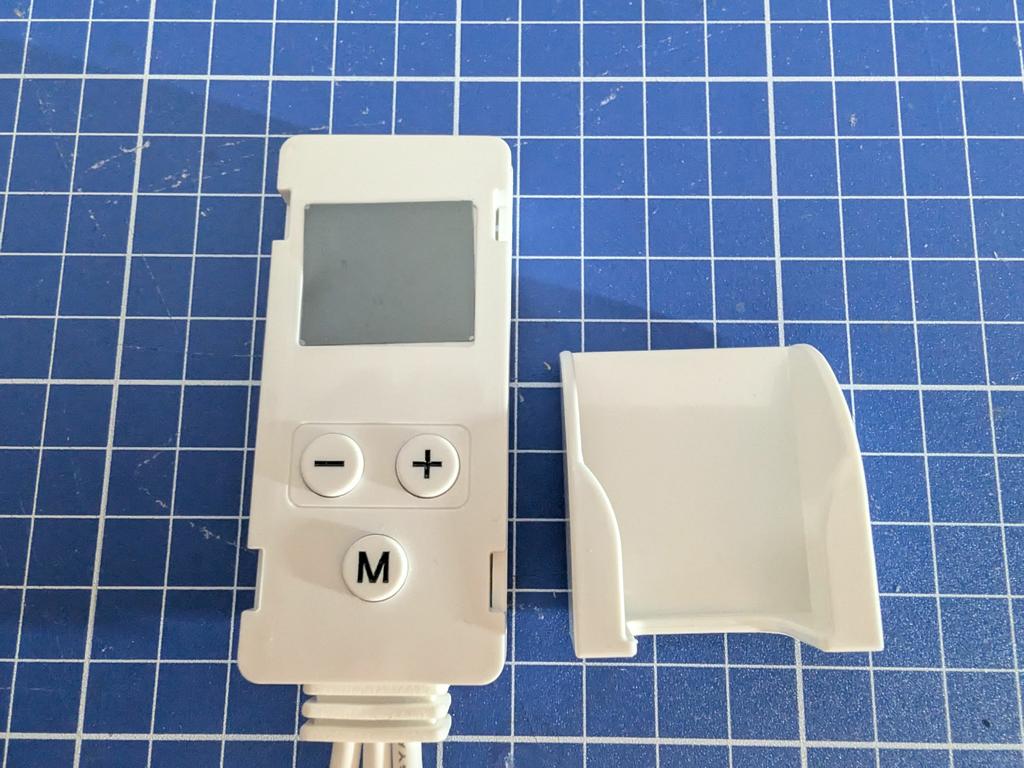
New is the control sensor. It measures the surface temperature of the radiator and starts the fans at about 33 to 35 °C. When the temperature falls to around 28 °C, it switches them off again. The switch-on temperature can be adjusted, but only within a small, fixed range. You cannot enter free values.
Key data
| Manufacturer | SpeedComfort, Rotterdam (Netherlands), founded 2015 |
|---|---|
| Test unit | Production model with two fan bars and control sensor |
| Mounting | Built-in magnets or the supplied feet |
| Connections | 5 mm barrel plugs (power supply, sensor, fan bars in a chain) |
| Fans switch on | at about 33 to 35 °C radiator surface temperature |
| Fans switch off | at around 28 °C |
| Test room | 20 m², standard panel radiator |
What is in the box
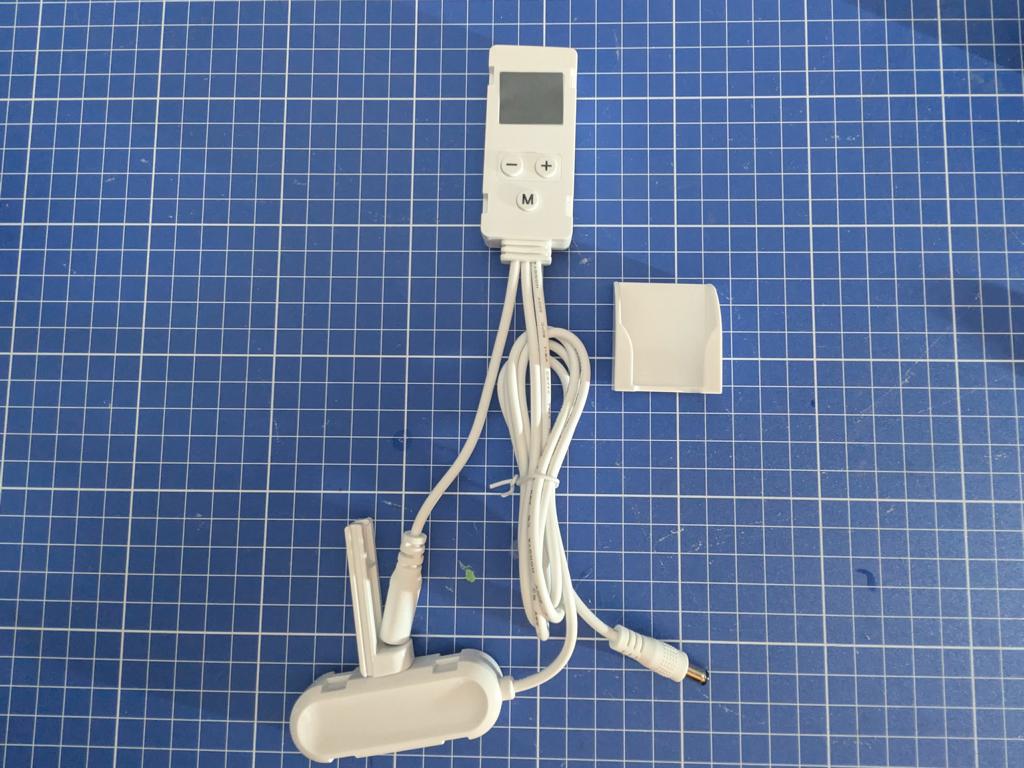
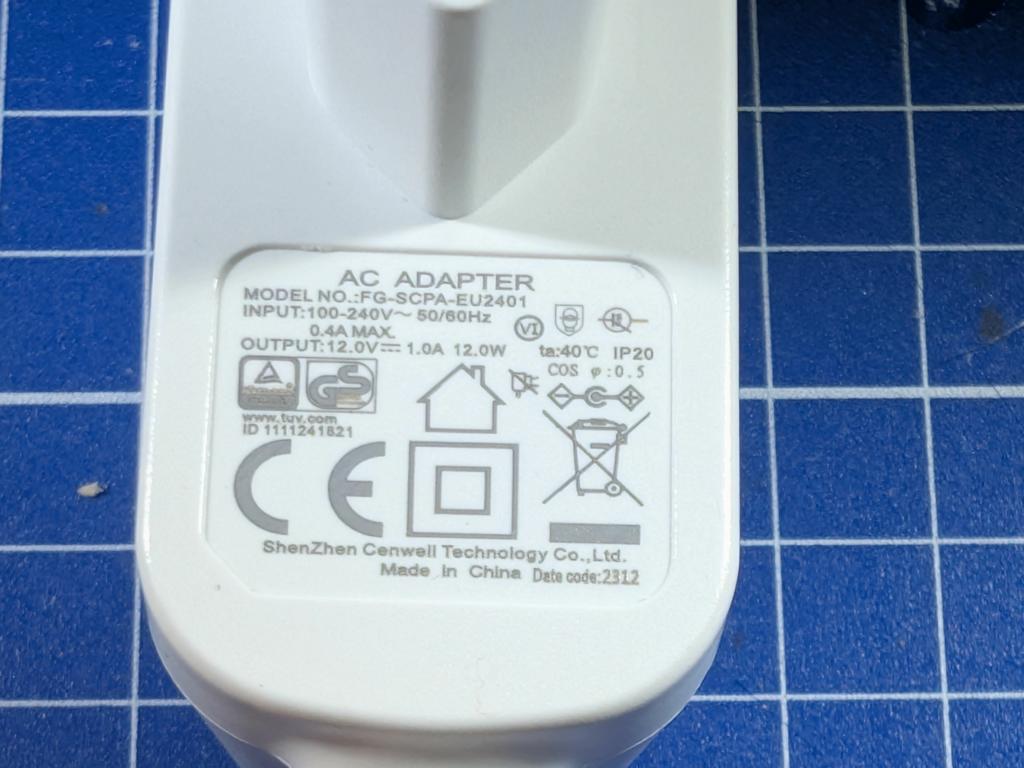
The box held two fan bars with built-in magnets, the sensor module with temperature probe and cable, a power supply with distribution cable, and feet as an alternative to the magnets. Instructions were included as well.
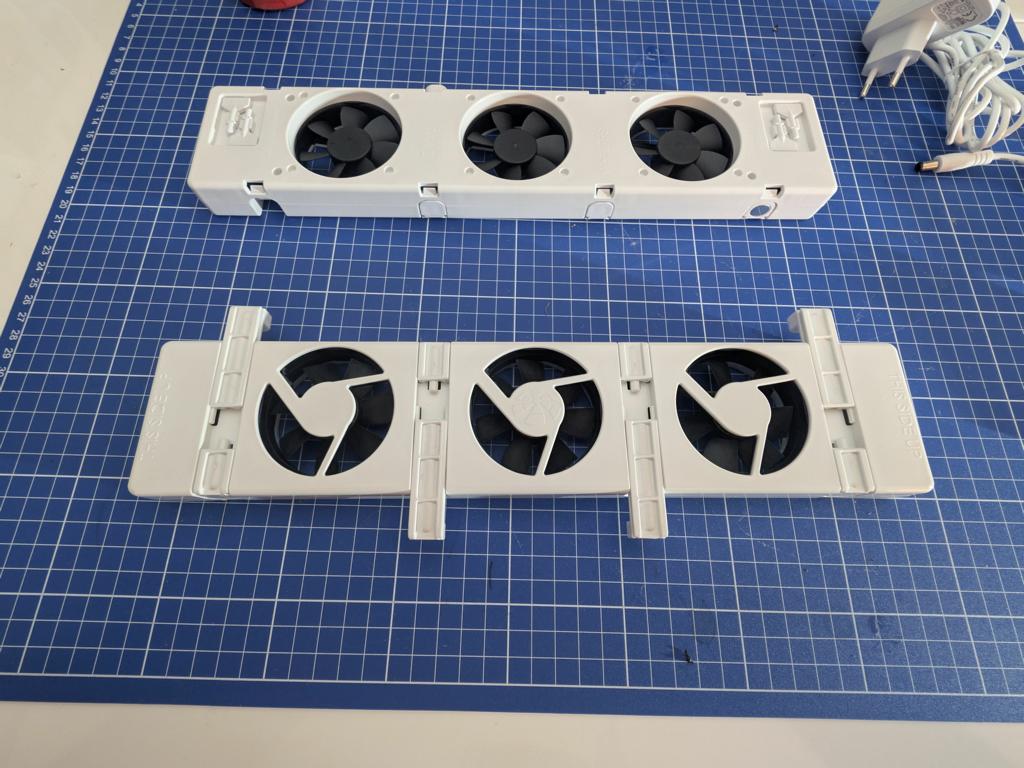
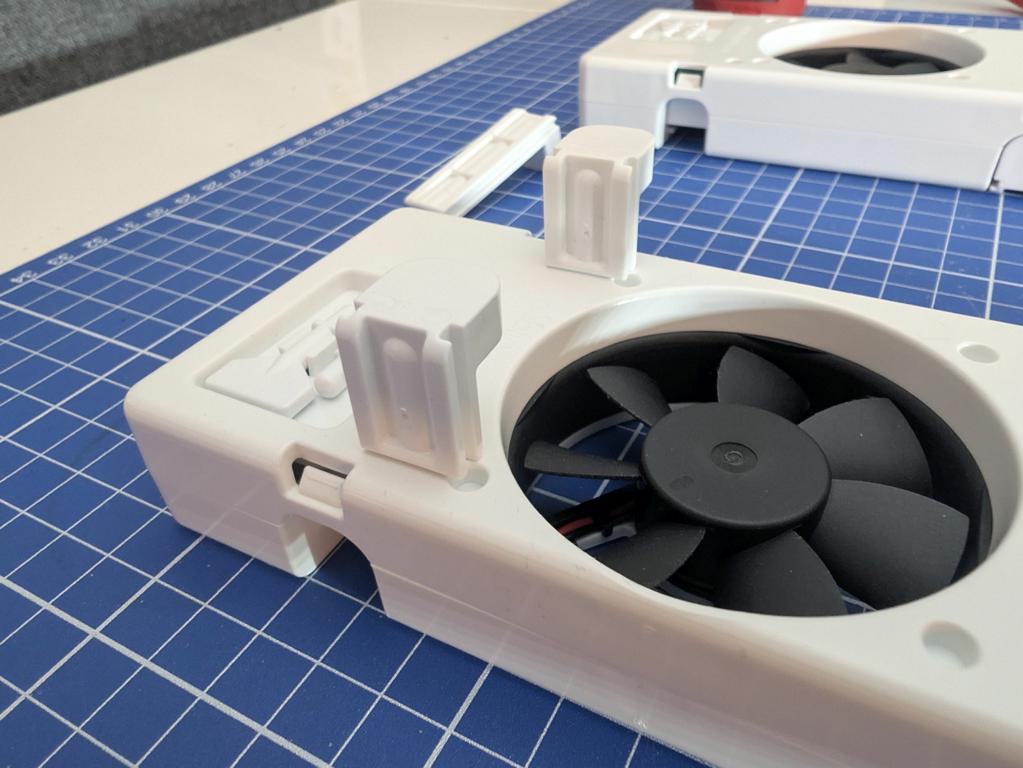
The bars make a high-quality impression, and the magnets hold reliably on the radiator. Because you can slide the bars freely, they also fit under longer radiators.
Set-up in a few minutes
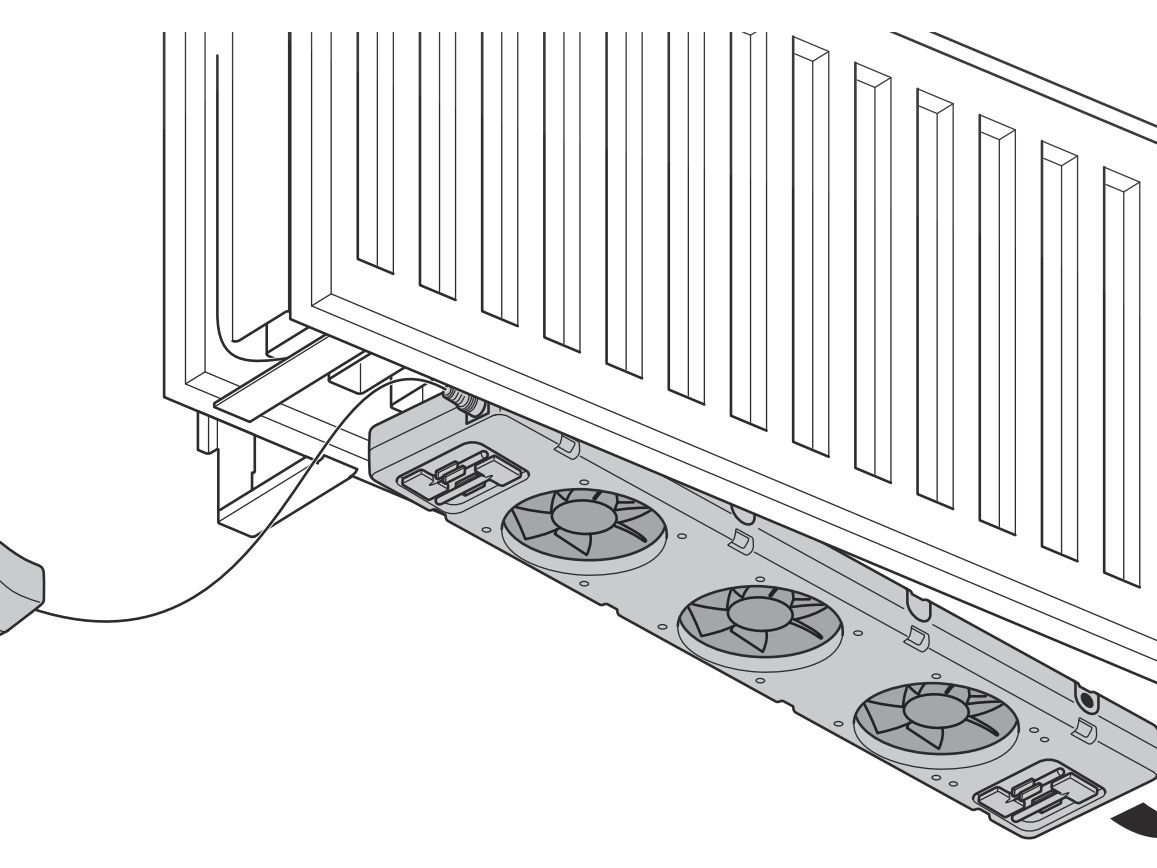
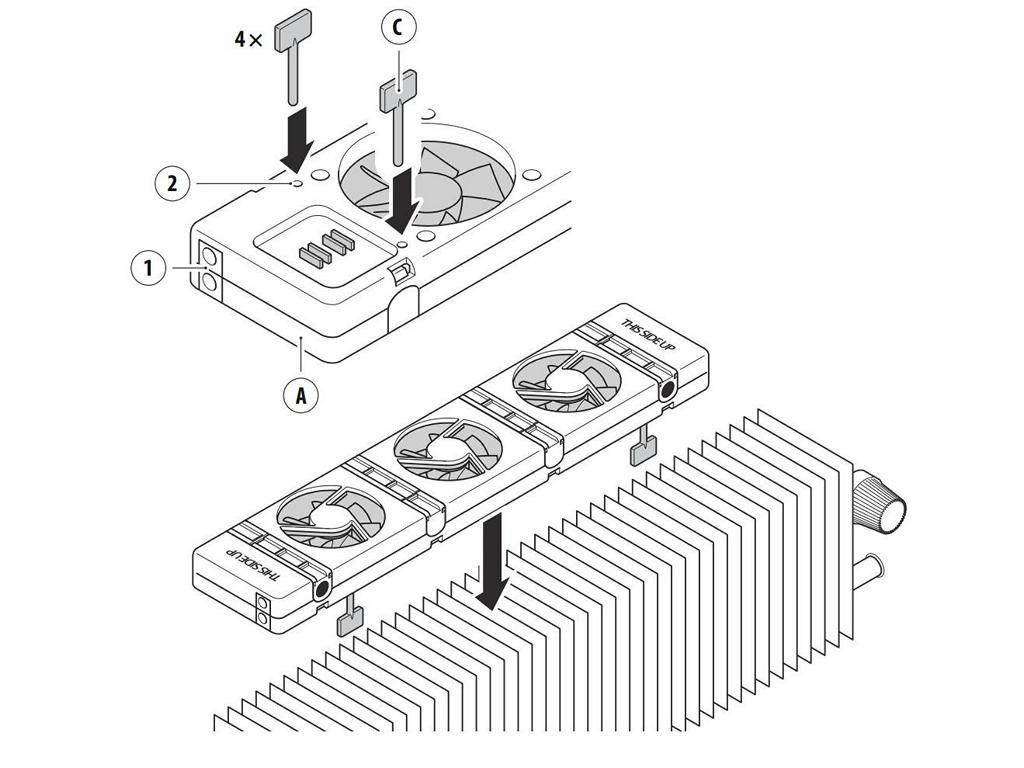
You slide the bars under the radiator, plug the cable into the sensor and the power supply into the socket. You change nothing in the heating installation.
All parts are chained together, from the power supply via the sensor with probe to the fan bars. The plugs are 5 mm barrel plugs throughout. If you do not want magnets, stand the bars on the feet. On my radiator everything worked first time. According to the manufacturer, other models should be just as easy, which I have not checked.
The sensor in operation
When the radiator gets warm, the fans start. When it cools, they stop again. You do not have to intervene.
What the fans achieve in a 20 square metre room
I tested on a standard panel radiator. With the fans running, the room warmed up much faster. In my impression the heat spread more evenly, and the difference between floor and ceiling shrank because the air mixed more.
This is a subjective impression. I did not compare the heat-up time with a stopwatch, and this test does not cover a comparison across a whole heating season.
The catch: the radiator reheats more often
If the fans spread the heat faster, the radiator also gives it off faster and cools down sooner. To hold the room temperature, it has to reheat more often. That raises the number of switching cycles slightly. How much energy you save in the end therefore depends on the heating system and thermostat.
Well-tuned systems with modern controls tend to benefit more, while the effect shrinks on older systems. Sometimes the flow temperature can be lowered by a few degrees, and that reduces the heating system's consumption. The shorter heat-up time is certain. In my case the advantages outweigh the drawbacks.
Why this works especially well at low flow temperatures
When the flow temperature drops, a radiator's output falls disproportionately. Experts describe this with the radiator exponent. Natural convection then contributes less, and the share of radiant heat grows. The fans create the missing airflow artificially. That is my assessment, not a measurement. The set therefore brings the most on systems with a very low flow temperature.
Power consumption
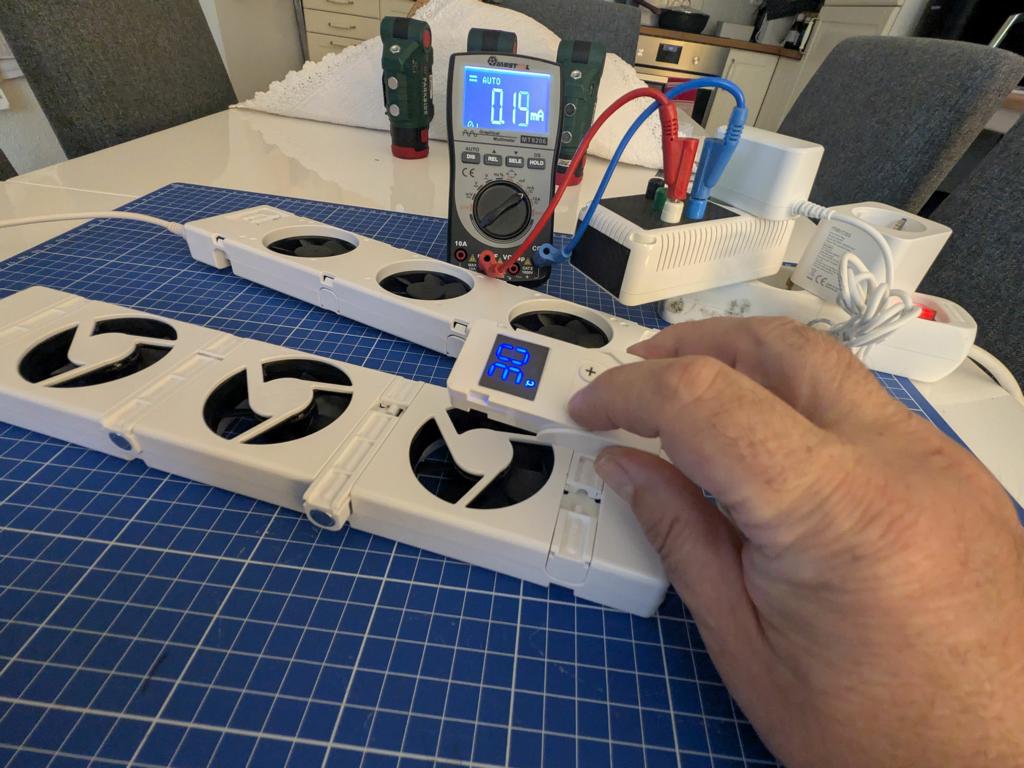
In standby my energy cost meter showed nothing. The fans only run when the radiator is warm. Measured against the heating energy the set can save, the electricity does not matter. I did not work out a kilowatt-hour calculation for a heating season.
Verdict
The set delivers what it promises. In the test room it warms up faster, the fans stay quiet, and the sensor reacts reliably to the radiator temperature. Set-up and operation are simple, and the electricity hardly counts.
Three points count against it. Heat cost allocators rule out its use. The radiator has to reheat more often, which reduces the savings depending on the system. And the price is high. I would also like better cable routing and a more compact sensor unit.
Whether the purchase pays off for you depends on your heating system and the behaviour of your thermostats. In a detached house or with a gas apartment heating system with its own meter, you get warm rooms faster at barely measurable electricity cost.
Pros
- Set-up without tools in a few minutes
- Mounting with magnets or feet
- Quiet running
- Room warms up noticeably faster
- Very low power consumption
- Sensor switches reliably according to radiator temperature
Cons
- High price
- Unsuitable with heat cost allocators
- More frequent reheating reduces the savings
- Cable routing and sensor unit could be better
- Switch-on temperature adjustable only within a small range

Tests gadgets in his own test lab — and only believes manufacturers once he has measured it himself. More about me